Replacing an outdoor faucet might seem like a daunting task, but with the right tools and a bit of know-how, it’s a straightforward process that you can handle on your own. Whether a leak, corrosion, or old age, following these right steps can ensure a seamless faucet installation. Those who prefer a more professional approach can hire Mr. Rooter Plumbing to handle repairs. However, if you are DIY enthusiast, here’s a guide to help you tackle this project effectively.
Gather Your Tools and Materials
Before you begin, it’s essential to have all the proper tools and materials at hand. You’ll need a wrench, pipe thread tape, a bucket, and, of course, the new faucet. Having everything ready beforehand ensures a smooth workflow, reducing interruptions and minimizing frustration. When you have the right tools, you’re more likely to complete it without unnecessary trips to the hardware store. If you don’t have the proper tools, hire a professional plumber to avoid inconveniences and subpar outcomes.
Shut Off the Water Supply
The first crucial step in faucet replacement projects is to shut off the water supply. Locate the valve that controls the water flow to the faucet, which is usually found inside your home near the main water line. Turning off the water prevents any accidental flooding and makes the process safer. Remember, even a small trickle of water can complicate the removal process, so be sure the flow is entirely stopped before proceeding.
Remove the Old Faucet
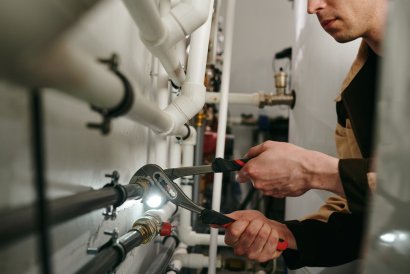
With the water supply securely turned off, it is time to remove the faucet. Use your wrench to loosen the faucet from the pipe. Depending on its age and condition, this step might require a bit of elbow grease. Older faucets, especially those exposed to the elements for years, can be stubborn to remove because of rust or mineral buildup. In case of system damage during removal, stop everything and call a plumber to work slowly and carefully to avoid further pipe damage.
Prepare the Pipe
After a successful faucet removal, prepare the pipe for the new installation. Start by cleaning the threads of the pipe to remove any old pipe thread tape or debris. Applying new pipe thread tape is essential, as it helps create a watertight seal when the new faucet is installed. Wrap the tape clockwise around the threads, ensuring it fits perfectly, but not too tight to avoid any leaks later on. Pipe preparation requires some skills to ensure the results lasts, hence the need to schedule an inspection with a reputable plumbing service after completion.
Install the New Faucet
After preparing the pipe, the next step is the faucet installation. Screw the new fixture onto the pipe by hand to ensure it is aligned correctly. Once it’s in place, use your wrench to tighten it securely. Be cautious not to over-tighten, as this can damage the faucet or the pipe threads. A snug fit is all you need to prevent leaks. It is advisable to double-check the faucet’s alignment and ensure everything is firmly attached. In case of damage during installation, mitigate further issues by bringing in a trusted plumbing service provider.
Turn the Water Back On and Test
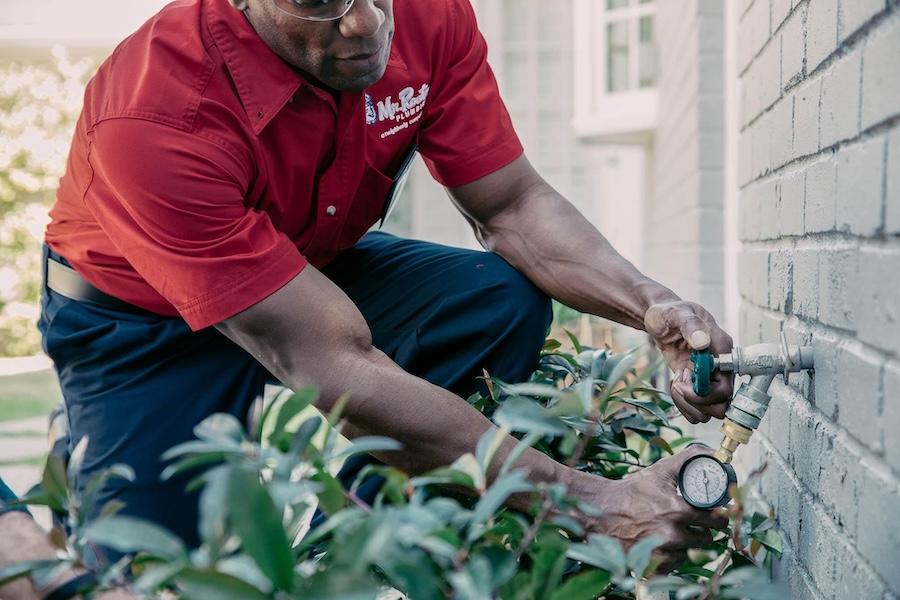
Once you complete the faucet replacement, it’s time to turn the water supply back on. Slowly open the valve and watch for any leaks around the faucet. If you notice any water seeping out, you may need to tighten the faucet slightly or apply more pipe thread tape. If you’re unsure of leaks, schedule an inspection with a reputable plumbing repair service. Professionals can test the faucet and ensure the water flows smoothly without issues.
Replacing an outdoor faucet is a manageable DIY task that can save you time and money. While these steps can help you conduct a successful installation, without the expertise and tools required, you risk inconveniences and costly damages later. Contact us at Mr. Rooter Plumbing and schedule a consultation with our experts to enjoy a functioning faucet with minimal hassle. Whether you’re a seasoned DIYer or a beginner, you can count on our plumbing repair service providers to get the job done quickly.


